How to make a todo app with AdonisJs
This is my first of (hopefully) many "how to" posts about AdonisJs (from now on, just called Adonis). I recently found Adonis, and fell completely in love with it, instantly. Let's also pin out from the start that I am no expert in Adonis what so ever. So what I do might not be the perfect way to do it. I've worked with MVC frameworks for other languages, such as Ruby on Rails and Laravel. And Adonis adopts many of the same principles such as an Active Record implementation, "Convention over configuration" and many more. The author of Adonis also says that Adonis is heavily inspired by Laravel. But, hey; Rails and Laravel are both awesome, but missing one big thing. It's not Node. Enter Adonis.
The Todo App
So, one of the first things you usually start of doing in any web framework is a todo app of some sort. Adonis should be no exception. So let's make a todo app. It's rather simple to hack together and covers some basic CRUD functionality and introducing us to Adonis's models, views and controllers.
If you want to skip ahead and look at the finished app, you can find it here
Functionality
In order for us to keep this rather simple, the todo app should not have any fancy behaviour. So let's say that one should be able to create a new task, delete a task, update it's status to "completed" and of course view all tasks.
I assume that you already have Adonis installed. If not, jump right over to the official documentation and come right back, we've got work to do..
Let's get cracking.
Create a new app
Let's start off by using the Adonis CLI to bootstrap a new app for us and installing the required dependencies. Open your terminal, and navigate to a folder where you want the app be placed and run the command below.
adonis new adonis-todo && cd adonis-todo && npm run serve:devThis will create a new app for us, called adonis-todo, navigate to it's folder and spin up a local development server for us to work on.
For good measure, head over to http://localhost:3333/ and make sure everything works and looks somewhat similar to the below
Next, spin up your favourite editor and have a look at the file structure and where the different files a localed. I won't go into great detail about this, as there are plenty on the official Adonis docs about this.
Once more comfortable about the structure, open the master template file, located at resources/views/master.njk and replace it's content with the below:
<!DOCTYPE html>
<html>
  <head>
    <meta charset="utf-8" />
    <meta http-equiv="X-UA-Compatible" content="IE=edge" />
    <meta
      name="viewport"
      content="width=device-width, initial-scale=1.0, maximum-scale=1.0, user-scalable=no"
    />
    <title>Awesome Todo List</title>
    <link
      rel="stylesheet"
      type="text/css"
      href="https://cdnjs.cloudflare.com/ajax/libs/twitter-bootstrap/3.3.7/css/bootstrap.min.css"
    />
  </head>
  <body>
    <section class="container">
      <nav class="navbar navbar-default">
        <div class="container">
          <ul class="nav navbar-nav">
            <li><a href="/">Active Tasks</a></li>
            <li><a href="/tasks/completed">Completed Tasks</a></li>
            <li><a href="/tasks/create">New Task</a></li>
          </ul>
        </div>
      </nav>
      {% raw %}{% block content %}{% endblock %}{% endraw %}
    </section>
  </body>
</html>
This should be relatively trivial for you without many surprises.
- HTML Boilerplate
- Including Bootstrap for some out-of-the box css
- Some markup to support some navigation
- Declaring a "content" block for the rest of our views to mount to
Nothing fancy. So let's get to some of the fancy stuff.
Our first controller and our views
Controllers in Adonis is basically just classes ES6 (or ES2015, if you'd like) and lives in app/Http/Controllers. Right now there aren't any one.
When we want to make new resources in Adonis, regardless of weather it's controllers, views, models or migrations, we have a CLI available called "ace". Ace is the Adonis equivalent of Ruby on Rails's "rails" command and Laravel's "artisan" command.
In order to make a new controller with Adonis we can run
./ace make:controller TasksNotice the plural and the first letter is uppercased. This is a part of the concept "convention over configuration". I won't go into details about this, so just remember, controllers are plural and the first letter is uppercased.
You'll be asked if you want to create a Http Request or WebSocket Channel controller. Here we'll choose Http Request.
While we have the terminal open, let's just quickly generate some views that we know we'll need eventually. This is also done using the "ace" command.
./ace make:view tasks/index && ./ace make:view tasks/createWith that in place let's dip our toes in the water, open our newly created controller: TasksController.js and add a method.
'use strict'

class TasksController {
  *index(request, response) {
    yield response.sendView('tasks.index', { tasks: [] })
  }
}

module.exports = TasksController
Whoa! What's going on here? If you haven't seen this kind of syntax before it's what's called ES6 generator methods. Which basically makes it really simple do deal with asynchronous code, and not having to deal with callbacks and promises everywhere.
So what this code does, is whenever the index method is called on the TasksController we'll return the view called tasks.index with an empty set of tasks for now. Which is the one we created just before. It dosen't contain any markup yet, so let's do something about that.
Opening resources/views/tasks/index.njk let's add the below
{% raw %}{% extends 'master' %} {% block content %} {% for task in tasks %}
<div class="panel panel-default">
<div class="panel-body">
{{ task.task }}
</div>
<div class="panel-footer">
<div class="row">
<div class="col-md-6">
<button class="btn btn-success btn-block" type="submit">
Complete
</button>
</div>
<div class="col-md-6">
<button class="btn btn-danger btn-block" type="submit">Delete</button>
</div>
</div>
</div>
</div>
{% else %}
<div class="alert alert-warning">
Whoa! No tasks yet. Go and add some now.
</div>
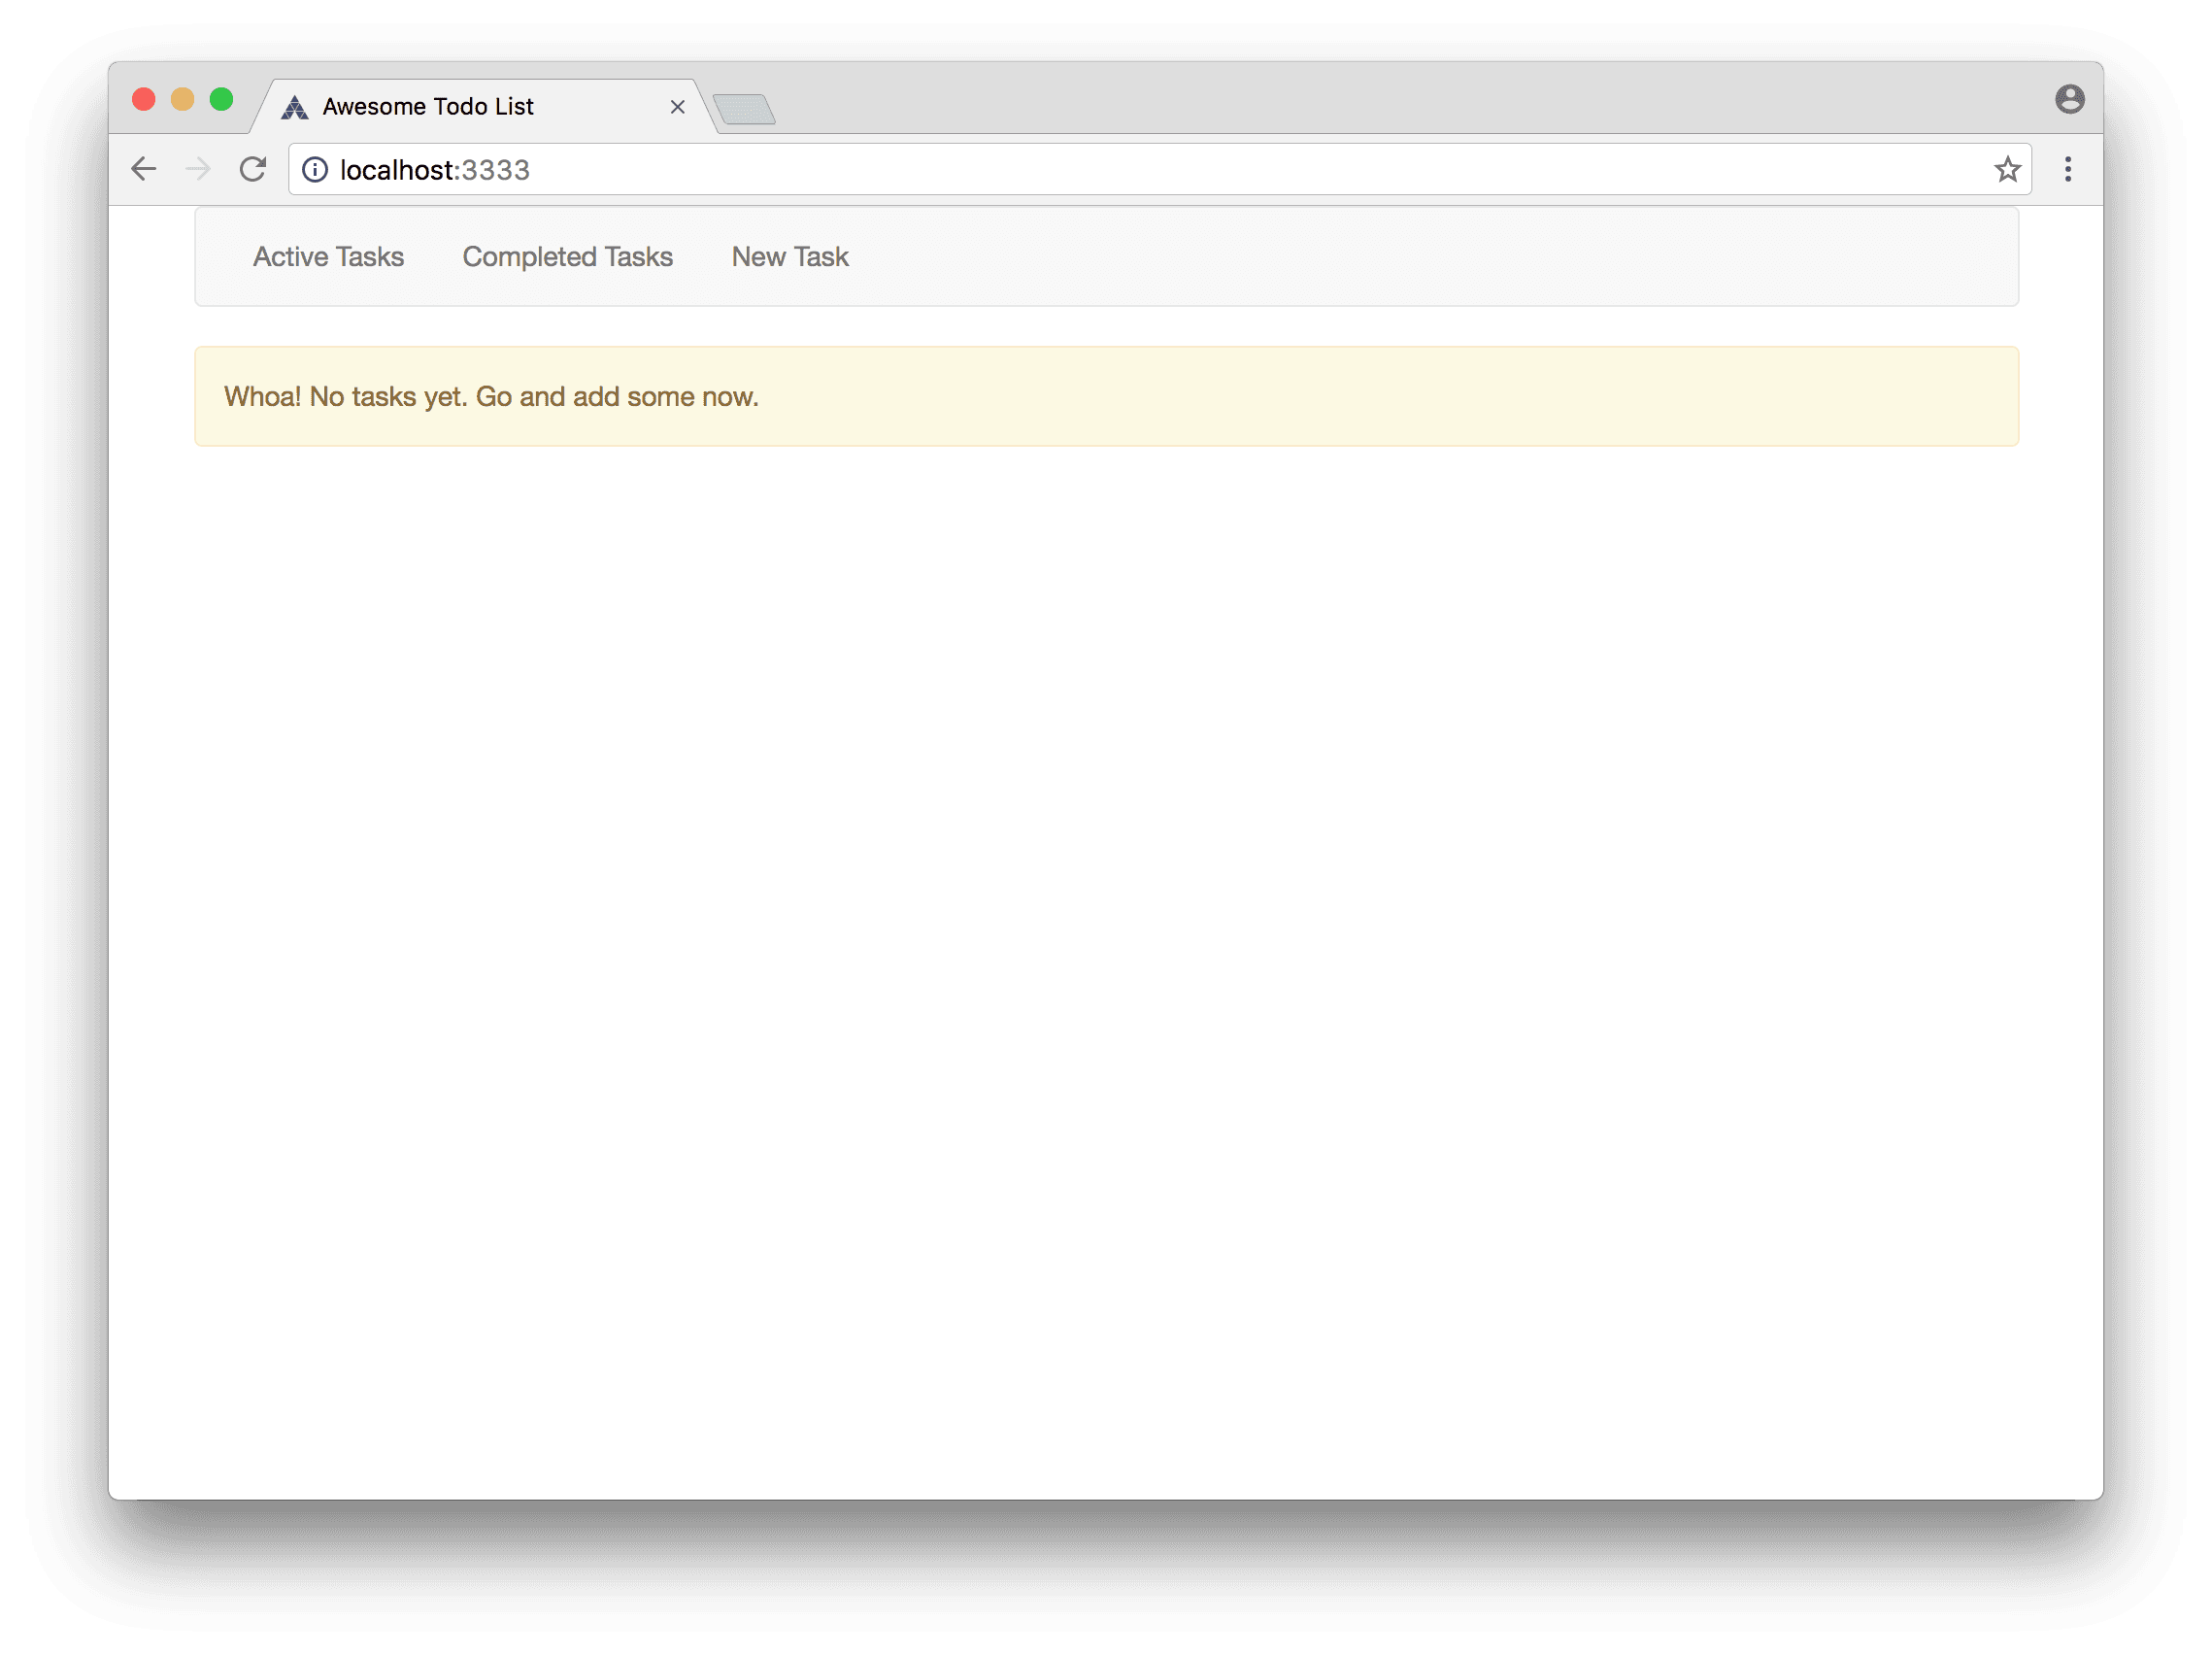
{% endfor %} {% endblock %}{% endraw %}This is rather basic we extend upon the master template we edited before and define the "content" block. Within this we iterate over all tasks and print them out. If there aren't any, we'll show an alert telling us to add some tasks.
The last thing we need to do before we can see all we just did is to set up a route and map it to our controllers index method.
If you have browsed around the file structure of our app you've might stumbled upon the app/Http/routes.js this is where our routes live. Open it up, have a look in it and check out the line
Route.on('/').render('welcome')Right now it routes all traffic on the root of our domain to the welcome view without involving any controllers or anything. Let's change that line so it looks like this:
Route.get('/', 'TasksController.index')This is now somewhat similar to the previous one, with two major differences. We explicitly tells the router only to map GET requests to our controllers index method. So if one would send a POST, PUT or any other type of request. towards that path. It would be rejected and never hit our controller. If you save and return to http://localhost:3333/ you should see something similar to the below.
Models and migrations
So up until now, we've only ever rendered an empty list that we added on purpose. Let's create a model and a migration, so we can save our tasks to a database, and pull out tasks from it as well.
Let's jump right ahead and use Ace to generate a model for us
./ace make:model TaskAs we did with our controller, notice the naming convention here. Models are always singular with the first letter uppercased.
If you open up our newly generated model in app/Model/Task.js you'll notice an empty class that extends upon Lucid. Lucid is Adonis's Active Record implementation. If you don't know Active Record, it basically allows us very easily to interact with a database. Lucid supports many SQL databases like MySQL, PostgreSQL and SQLite. For simplicities sake we'll use an SQLite database, so let's quickly add a driver for that. All we need to do here is to run the command:
npm install --save sqlite3Moving on to the interesting stuff, we now need to run a migration. A migration is a way for us to create, and alter tables in our database. It's also where we define the schema for how the table should look like. Again we can use Ace for that.
./ace make:migration tasks --create=tasksThis will create a filename similar to database/migrations/1487859485565_tasks.js. The actual filename will differ, because it's based on the exact time for when the migration is being run. Open it up and paste in the below
'use strict'

const Schema = use('Schema')

class TasksTableSchema extends Schema {
  up() {
    this.create('tasks', table => {
      table.increments()
      table.string('task')
      table.boolean('completed').defaultTo(false)
      table.timestamps()
    })
  }

  down() {
    this.drop('tasks')
  }
}

module.exports = TasksTableSchema
Alright, here we defined our database schema and added two custom fields to it task and completed. Adonis uses Knex.js to define it's schemas. Have a look at their docs if you want more info on the options you have. The last thing we need to do before we can interact with our table is to run the migration. I bet you have guessed how to by now, that's right, using Ace.
./ace migration:runNow we're ready to start interacting with our database. So let's start doing that. Let's refactor our index method from before so it pull actual tasks from the database, rather than us passing an empty array to our view.
So open up your TasksController.js and modify it to look like below:
'use strict'

const Task = use('App/Model/Task')

class TasksController {
  *index(request, response) {
    const tasks = yield Task.query()
      .where('completed', false)
      .fetch()
    yield response.sendView('tasks.index', { tasks: tasks.toJSON() })
  }
}

module.exports = TasksController
Did I say before we could easily interact with a database? It does not get much more easy than this. Now we pull out all our tasks whenever the index method is being called and pass that along to our view as JSON. If you hit refresh in your browser now, the page should look all the same as before, with the only difference that it now reflects what's actually in our database. Right now it's empty, so let's go and insert some data in it.
Adding tasks
Before we can add tasks we need to set up two new routes. One for displaying our view and one where we can submit a form to, that will then process the request and save the data to our database. So go ahead and add the following routes:
Route.get('tasks/create', 'TasksController.create')
Route.post('tasks', 'TasksController.store')
and add the corresponding methods to our TasksController
* create (request, response) {
  yield response.sendView('tasks.create')
}

* store (request, response) {
  // TODO
}
The interesting part here is not what happens in the create method, but what happens in the view and the store method that we'll post to in a minute. Before we can do that, we need to have a look at that view. Open up the tasks/create view and insert the code from below.
{% raw %}{% extends 'master' %} {% block content %} {{ form.open({action:
'TasksController.store'}) }} {{ csrfField }}

<div class="input-group">
  {{ form.text('task', null, { class: 'form-control' }) }}
  <span class="input-group-btn">
    {{ form.button('Add Task', 'add-task', { class: 'btn btn-success' }) }}
  </span>
</div>

{{ form.close() }} {% endblock %}{% endraw %}
So the interesting stuff here is the form builder and the csrfField tag. The form builder has a very rich API for building up various forms. A neat thing is the ability to map the forms action to a controllers method. That way you'll never have to update actions if you update routes or something like that. Next up is the baked in CSRF Protection that allows us to submit forms without having to worry about security and all that stuff. Sweet!
So now all we need to do before we actually save some data to our database is revisit that store method on our TasksController. Open it up, and update it so it looks like the below:
* store (request, response) {
  const taskData = request.only('task')
  yield Task.create(taskData)
  response.redirect('/')
}
Again we are lucky to have such a simple API towards our database. One Task.create() call, and we have a new row in our table. In the perfect world, you'll probably want to have some validation of some sort, but to keep it simple we take our chances and allow everything. If you submit your form you should be able to add a task and be redirected back to the frontpage. Go ahead, and add a few tasks to make sure everything works.
Completing tasks
Now that we can read all non-completed tasks and create new ones, I think it's about time that we take a look at how to update tasks. We're starting to get the hang of this, so let's start off by adding two new routes. One for showing all the completed tasks and one we can submit a form to.
Route.put('tasks/:id', 'TasksController.update')
Route.get('tasks/completed', 'TasksController.completed')
Here we're adding a new route and because we need to update a task, we need to use an accordingly http verb, which in this case is PUT and whenever a request is sent to that route we hit the update method on our TasksController. We don't have such a method yet, so let's go and create that.
* update (request, response) {
  const task = yield Task.find(request.param('id'))
  task.completed = true
  yield task.save()
  response.redirect('/')
}
Here we find a task by an id which is passed along with the URL. Once found we update the completed flag to true and save our changes. Finally we redirect back to our root path.
For all of this to work, we need to add a simple form to our index view. I haven't been able to find a more smooth solution that this until now, but I don't think it's that bad. Like before we open a form with some security and only add a submit button to it. The interesting part here is the form.open We point it to our update method and pass along the tasks id, so we're able to find it by that. If you open up your index view find this line:
<button class="btn btn-success btn-block" type="submit">Complete</button>and replace it with this.
{% raw %}{{ form.open({ action: 'TasksController.update', params: {id: task.id}
}) }} {{ csrfField }} {{ form.button('Complete', 'complete-task', { class: 'btn
btn-success btn-block' }) }} {{ form.close() }}{% endraw %}
So now we can update a task, and set it's completed status to true rather than it's default false. The last thing we need to do, is add a new method that pulls out all completed tasks. The below code will do just that.
* completed (request, response) {
  const tasks = yield Task.query().where('completed', true).fetch()
  yield response.sendView('tasks.index', {tasks: tasks.toJSON()})
}
One could argue that it would make sense to reuse the index method that we already have, that basically does the same. And that would probably be a lot better and more DRY. But again to keep things simple, let's just continue with this. After all we re-use the view, so we are already a little tidy 😸
Deleting tasks
The last thing we've set ourselves out to do is add support for deleting tasks also. So let's wrap it up and do it. Like we did before, we start of by adding a route
Route.delete('tasks/:id', 'TasksController.destroy')This looks a lot like the one we used for updating tasks, the only real difference here is the http verb, which is now DELETE.
Let's update our index view. And like before, we need to open a form. So find the
<button class="btn btn-danger btn-block" type="submit">Delete</button>and replace it with
{% raw %}{{ form.open({ action: 'TasksController.destroy', params: {id: task.id}
}) }} {{ csrfField }} {{ form.button('Delete', 'delete-task', { class: 'btn
btn-danger btn-block' }) }} {{ form.close() }}{% endraw %}
and last but not least, we must add the destroy method we are pointing to, to our TasksController
* destroy (request, response) {
  const task = yield Task.find(request.param('id'))
  yield task.delete()
  response.redirect('/')
}
Congratulations, you now have a fully working todo app.
Final words
This ends our "how to" post on building a todo app with Adonis. We've only scratched the surface of Adonis and it's powerful features. And if we were to have used this app in production, we would probably have considered security and reusability a bit more. The same goes for our routes. Adonis supports routing resources which basically would trim our routes file down to a one-liner. But all of that set a side, we now know the core principles of Adonis and how to do CRUD operations.
If you have any feedback, want to say thanks or tell me i'm a complete moron, please leave a comment below.